It is always fun to post about a finished quilt, but this one is EXTRA special. My grandaughter turned 11 this summer, in the middle of this project! She has worked all summer on this very large project!
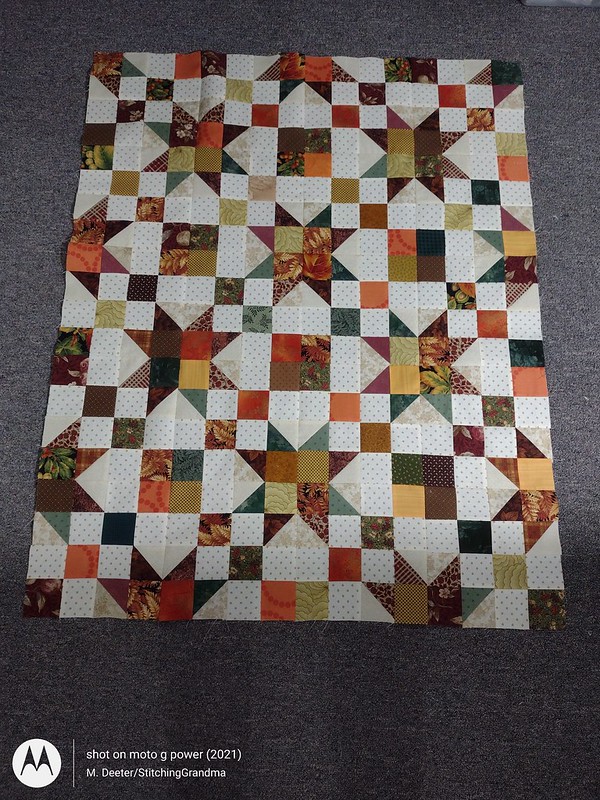
The pattern, Virginia Star, was named for her by pattern designer Edyta Sitar of Laundry Basket Quilts this spring after the two met at the Ocean Waves Quilt Guild Quilt Show.
Virginia was fascinated by the lecture Edyta had given the evening prior, and wanted me to help with an introduction. Edyta and Virginia had a lovely conversation, with Virginia feeling very “star struck”. Edyta said she was looking for a name for her next pattern, and the next thing we knew, VIRGINIA STAR was named.
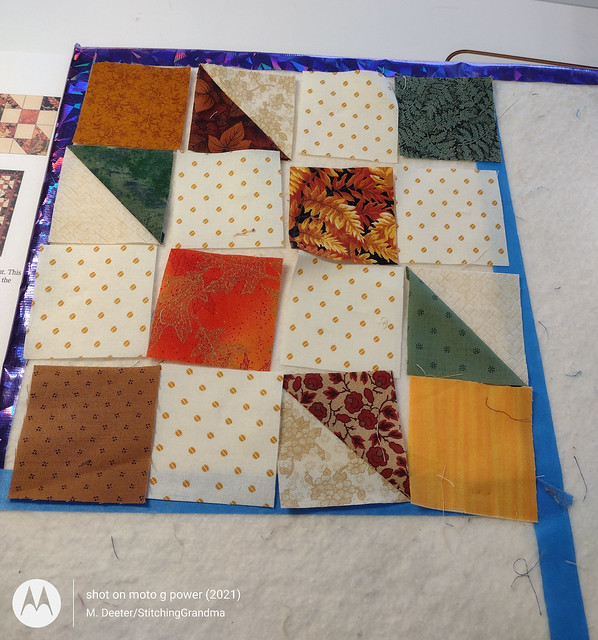
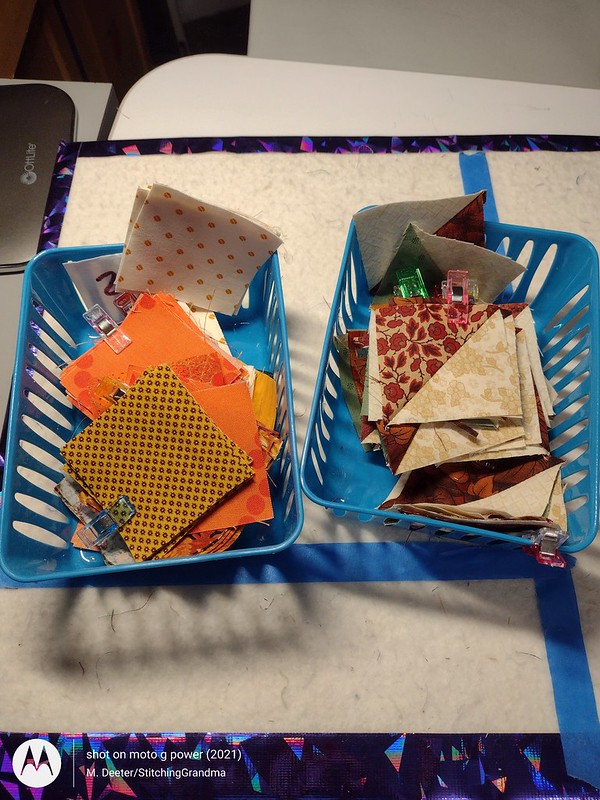
When the pattern and kit became available, I had my grandaughter choose which colors she wanted, and I ordered the kit. She chose the PRIMROSE collection for her kit. Work commenced the 2nd week of July, and the quilt was completed before she started back to school last week.
Once the top was assembled, we picked a nice chocolate brown for the border to “frame the quilt”. The brown fabric came from our local quilt shop, Church Street Fabrics in Selbyville DE.

I ordered 3 yards of 108″ wide backing from Marshall Dry Goods, in Batesville AR for the backing. They have some lovely backing fabrics for under $10 / yard.
We cut a large piece of backing, and the two of us set her quilt up to be pin basted on my large work table. With a lesson in pin basting with safety pins, how to use the Kwik Klip tool, the two of us spent an hour getting the top basted.
Once the quilt “sandwich” was ready, we set Virginia up to start quilting. I quickly realized that the quilt was way to big for her to handle. So, I would start the long line of quilting and she would finish the line.
We used Superior Thread, Fantastico, Cashmere color 5035 for the quilting of the body of the quilt, and for stitching in the ditch on the binding. A complementary brown thread from my many embroidery thread spools was chosen for the straight stitching in the border area.

We elongated and widened the serpentine stitch built into my Janome 8900. Using the walking foot that has a guide, we followed along the seam line. I snap a photo to help me remember the settings in case I have to switch off and do another project before this is finished.

Once the quilting was completed with help from the StitchingGrandma, it was time for a label and binding and a hanging sleeve.
Virginia and I talked about various ways to do the binding, and using up some of the leftover strips from the project. The kit came with a stripe fabric that had a label on it indicating use for the binding. Virginia chose all the scrappy strips and put them together to make the “Susie’s Magic Binding“. This binding is attached to the back of the quilt, and rolled to the front and stitched in the flange.

After the binding was made, it was time to design and make the label. Virginia chose the wording and the design element and thread colors. It was stitched on my Janome 11000 embroidery machine, and she chose the fabric pieces to frame the label, and worked thru the process of construction.

I finished up the attachment of the binding, hanging sleeve and label on Labor Day, while she enjoyed a family day out before starting back to school. She hasn’t seen the “finished quilt” in person yet, only photos. I will take it to her when we go for Sunday dinner with the family.

With borders and binding, the quilt is 60 x 60. Her mom is ordering a curtain rod for hanging it at home. I can’t wait to take a photo of it, hanging with Virginia next to the quilt. An amazing accomplishment for a young girl, and her first quilt ever! She told me as we were finishing up that the next thing she wants to do is a tiny quilt. She loves tiny things!
Quilting with a child gave me an opportunity to share my love of fabric, and some of the skills I have developed in the last 15 years. I can’t wait to see what she decides to do next.
What is happening in your sewing room this month?