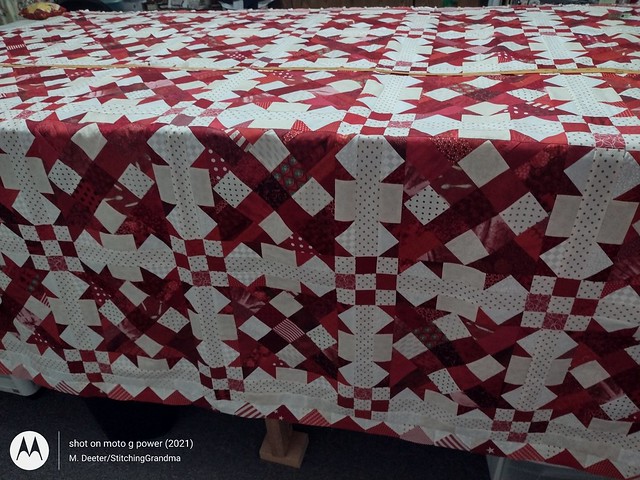
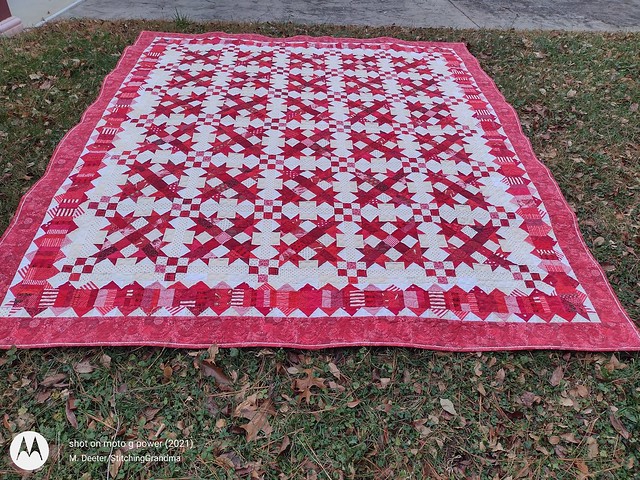
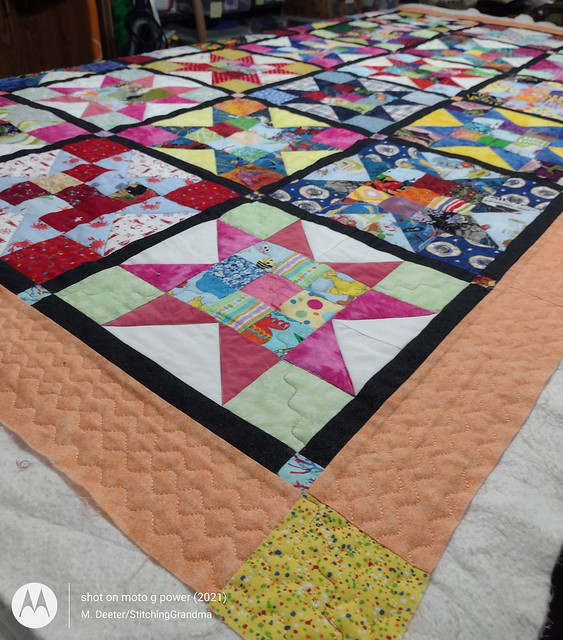
Circa 2015 quilt, finished in March 2024! My efforts to finish quilt tops that have been hanging around for YEARS continues.
I had a delightful time back in September, 2015 making blocks and turning them into stars, and eventually setting them with narrow black sashing. I wrote about it here – https://stitchinggrandma.wordpress.com/2015/09/11/scrap-happy-little-wishes-30-blocks/
and here – https://stitchinggrandma.wordpress.com/2015/09/14/just-a-border-or-2/
During the years in between, there was a point when I took the quilt top off the hanger and added orange borders. My grandaughter said her “MOMMY LIKES ORANGE”. With that in mind, I finished the quilt in the last week for her mommy’s birthday.
I knew my daughter would enjoy a “snuggle quilt” that was cozy and cuddly and warm, so I used flannel on the back. She is a woman who is not afraid of color, and with that in mind I thought she would enjoy this quilt.
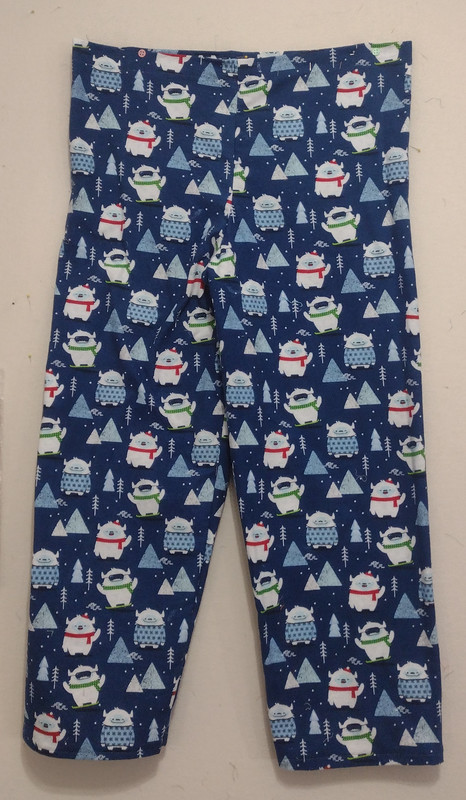
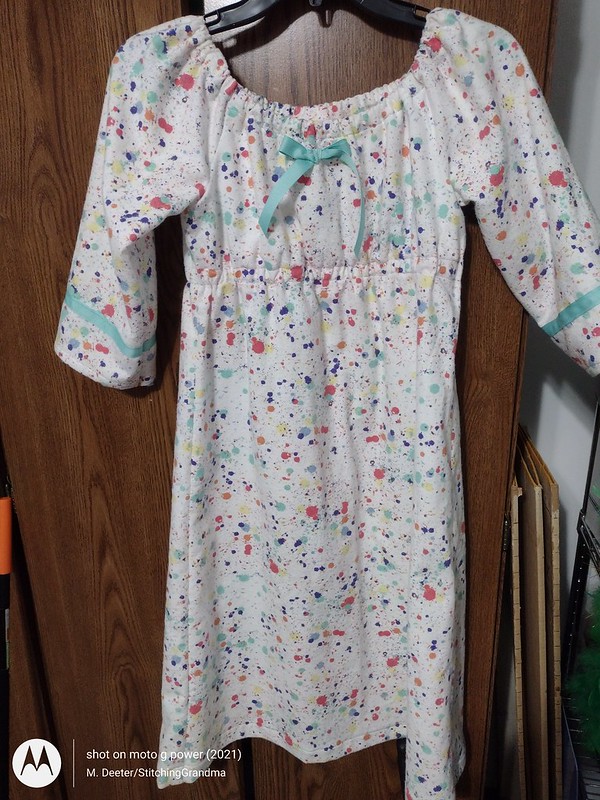
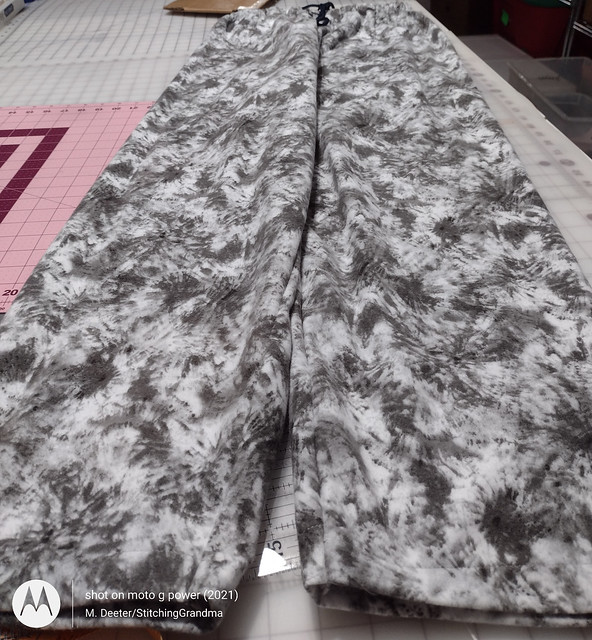
I opened my bin of flannel, and pulled out the “leftovers” from the pajama projects I have made for the grandkids. My hope is when she snuggles on the sofa she will feel the hugs of all those kids.
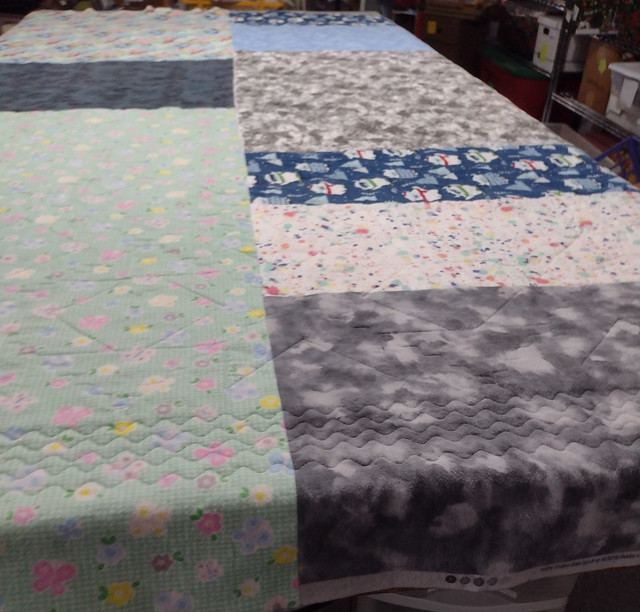
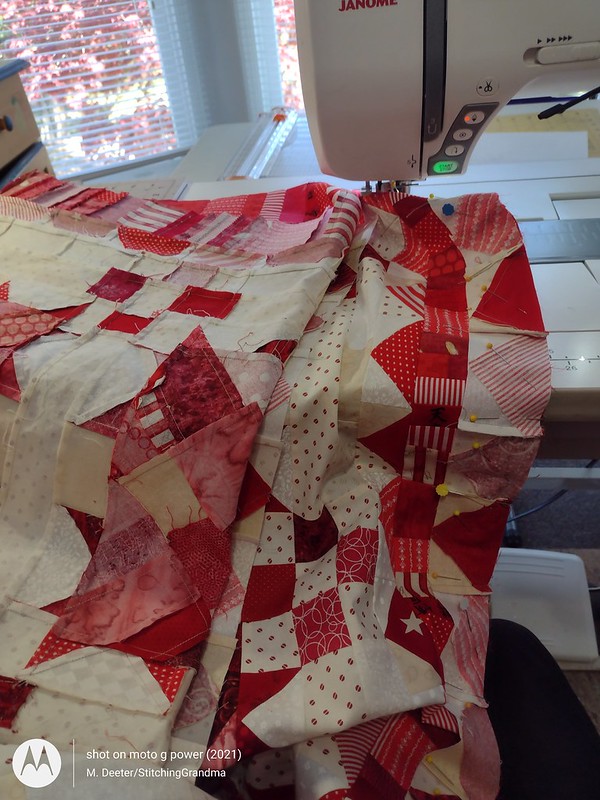
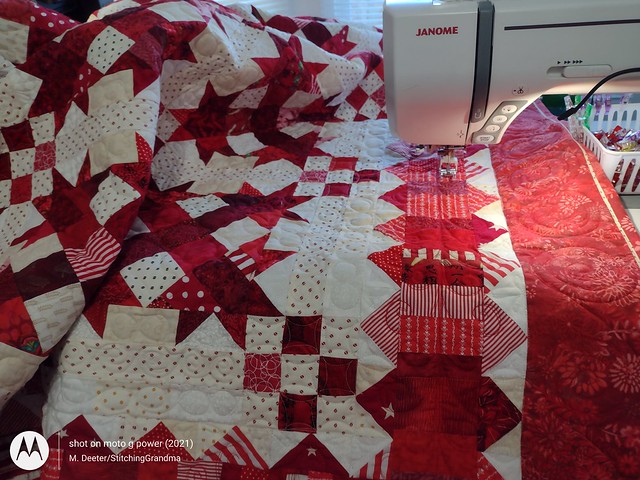
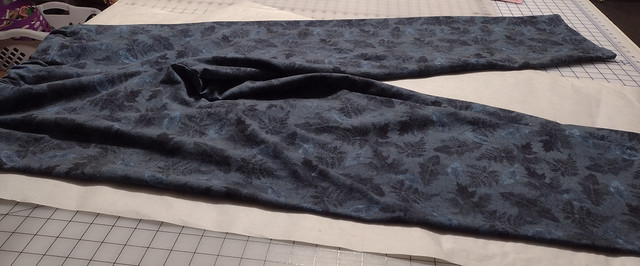
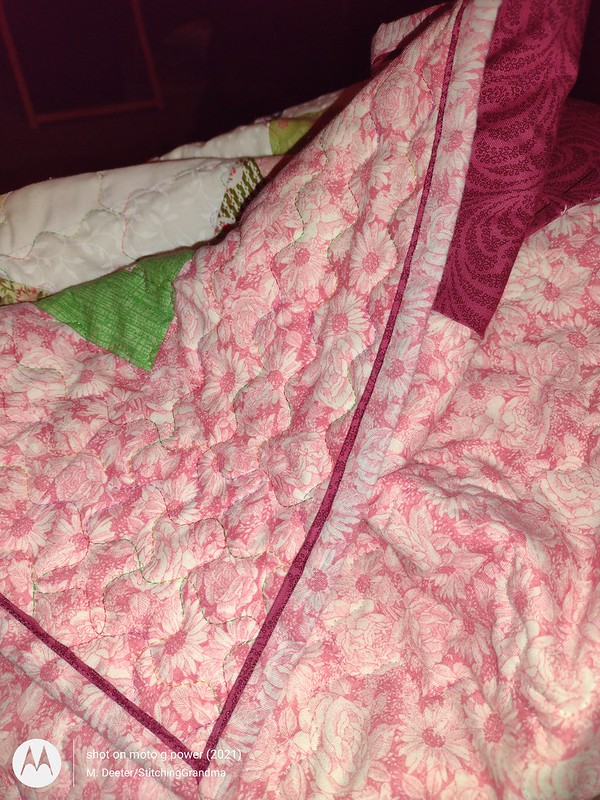
I think the quilting shows up well on the back. I used Superior Bottom Line SILVER in the bobbin. I quilted with my walking foot. I used the serpentine stitch on my Janome 8900, and adjusted the length and width for this project. I always snap a photo, so I can replicate the setting if I want to come back to it later.

I used the serpentine stitch across the blocks in both directions and on the border. Around the stars I used a straight stitch. I was hoping that stitching around the stars would make them pop a bit once the quilt was washed. I used orange embroidery thread for the borders, and for the rest of the quilt I used Superior Fantastico # 5114. It’s name is PLAYHOUSE, and is variegated green, yellow, red and blue. It almost disappears on the wide variety of colors in the quilt.

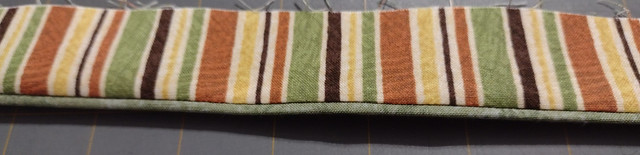
When it came time to trim and make binding, I had to really find something that would work against that orange border. I made 318 inches of Susie’s Magic Binding for the quilt.

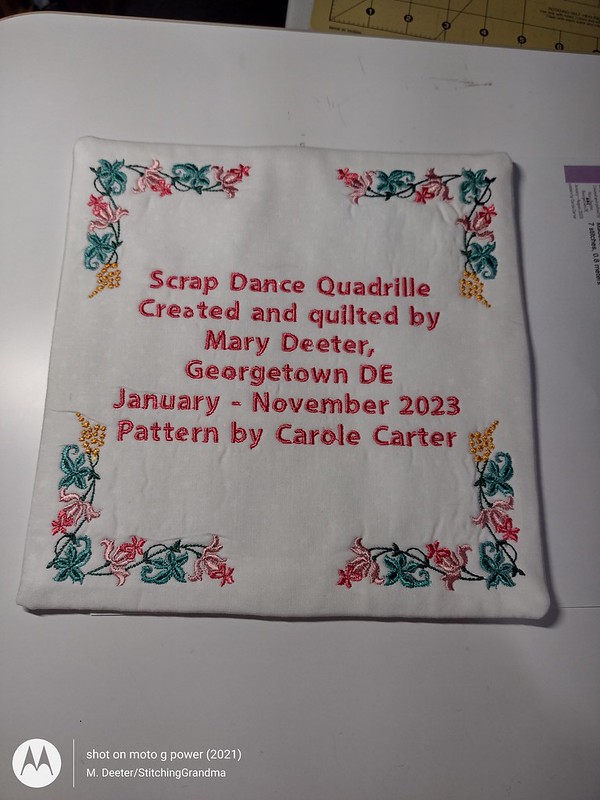
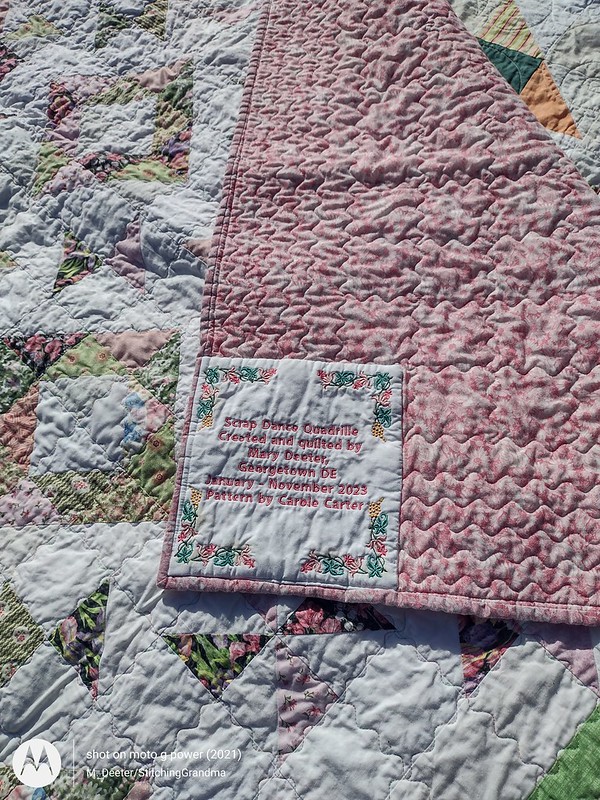
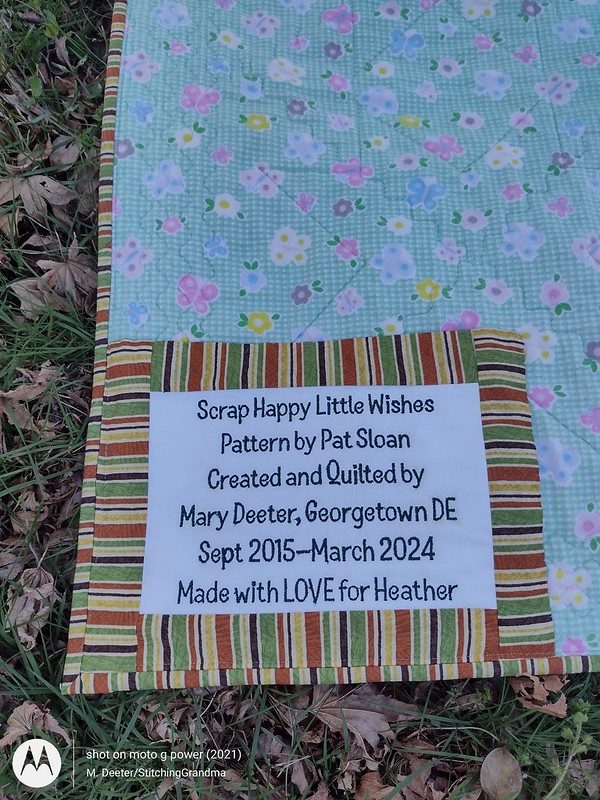
Of course, a label needs to go on the back of the quilt!
I think the stripe binding worked well and I love how it finished the quilt.

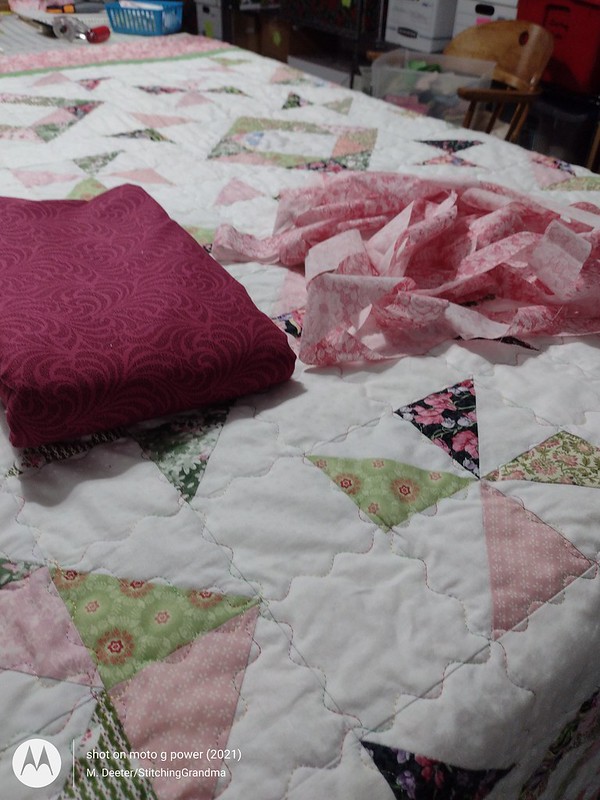
I always like to “WASH” my quilts before gifting, especially when the top has been hanging around a while! I have a top loader, with no agitator, and threw in some color catchers for good measure. I took a peek at the water after a couple of minutes and could immediately tell I was going to have a problem. I threw in a total of 5 color catchers, and 1/4 cup of DAWN, and a beach towel with white stripes. I crossed my fingers and hoped for the best.
Check out the results –
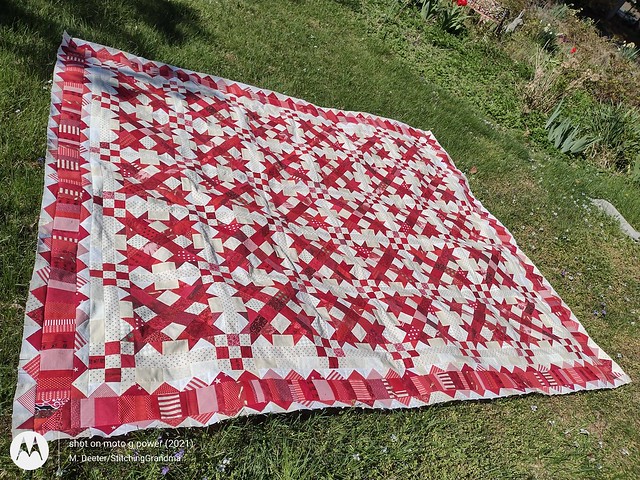
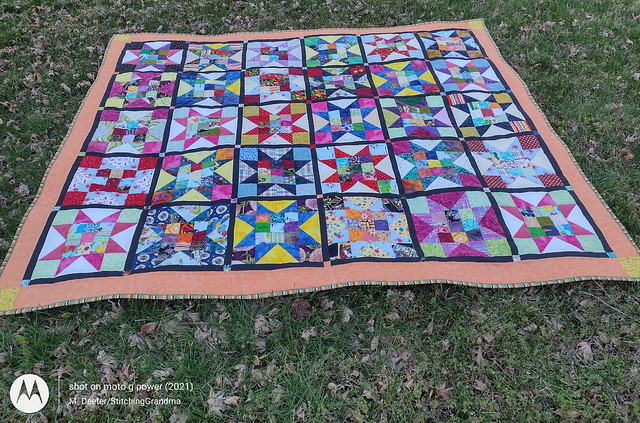
The quilt came out just fine, with only a tiny amount of pink showing around the quilting in one area. I think there were hand dyed fabrics used for star points. They are scattered around the quilt and the color catchers did their job. My daughter is well versed in the benefit of color catchers in the laundry.
Quilt details – Before washing the quilt was 70 x 84. Shrinkage happens, and even though all the flannel was previously washed, the quilt top /batting did shrink, and the finished washed quilt is 67″ x 80″. All scraps except for the inner & outer border and the binding.
Scrap Happy Little Wishes is a free pattern from Pat Sloan. You can find it here – https://blog.patsloan.com/2015/09/pat-sloan-quilt-show-scrap-happy-little-wishes-free-pattern.html
It feels good to know that gifting a scrappy project will be well used and enjoyed. It is big enough to snuggle under on the sofa, or in my daughter’s case, in her hammock on the porch! She LOVED the flannel back. And, because she enjoys color, I think she will have fun with her fingers wandering over the blocks looking at all the random fabrics.
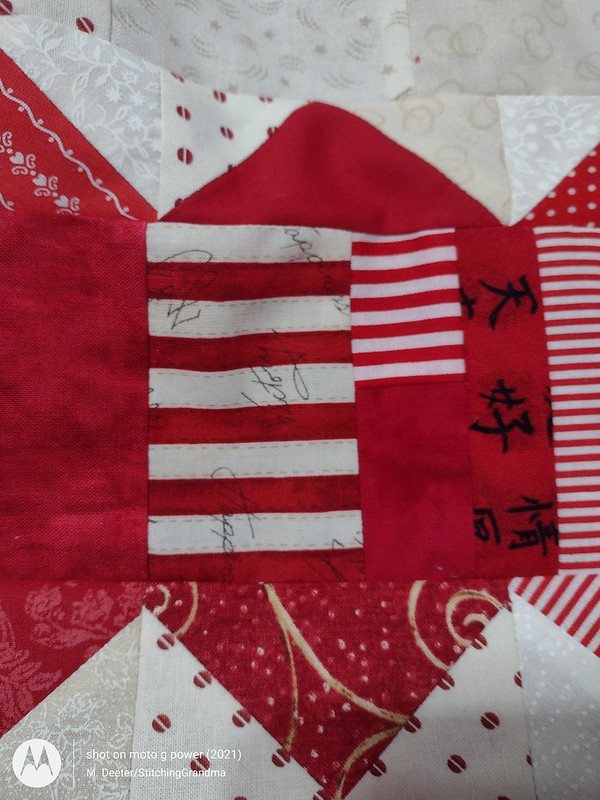
Lessons learnt – Since I made this quilt top in 2015 I know more about color and saturation. Some of the stars in this quilt disappear because I made poor choices in the contrast fabric. At the time I was making the blocks, I was just sewing “whatever came to the top of the scrap heap”.
These days, if I were to make this pattern again I would ensure more contrast. I would even break out YARDAGE (gasp….) to ensure a better distinction in the stars and surrounding pieces.
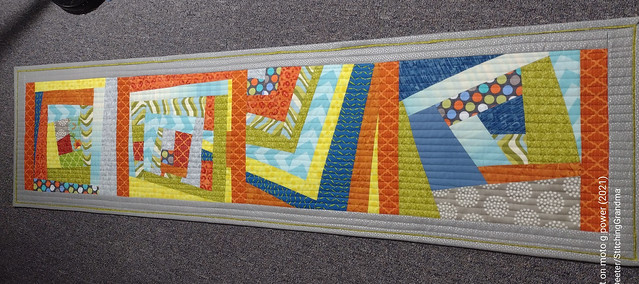
I’ve been making a lot of STRING BLOCKS in the last few weeks and working in very specific color groupings. They are still very scrappy, using up the bits and pieces, but very pleasing to the eye. I cleaned up all my green scraps yesterday and put everything away nice and tidy. Watch for my next post on Green String Blocks!
What are YOU working on this month? Have you cleared out any old quilt tops?
Sharing this post with OH SCRAP today! Go take a look at what is happening in the world of scraps.