
DISCLAIMER – I am NOT an expert, merely a collector of information! Given that, I wanted to share with you some resources so when you get ready to set a quilt ON-POINT, you are not running scared! I decided to share on the blog today, information I had shared in a reply to a follower about her own project. I realised the reply was so long it was worthy of a blog post.
I am working on my 3rd “on point” quilt. The Bonnie Hunter – Quiltville Winter Mystery 2015 – Allietare is set on point. Bonnie very kindly did all the “math” and provided us cutting information for the corner triangles and the setting triangles in the final “clue” of the pattern . Quick – go look at this pattern and mystery before it is gone! (If this link is broken – it is because the pattern comes off of Bonnie’s blog on Feb 1, 2016.)
You have “seen” this photo before I believe (NO, I am NOT finished) – (Look at the quilt on the right – not the cabinet) 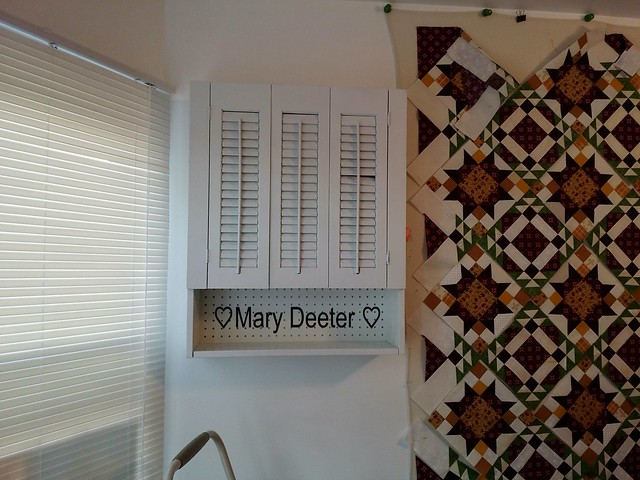
Note – my rows are in progress and I will be trimming off the white “overlap” even with the outer edge of the burgundy triangle.
When my fellow blogger, Judy, commented about how she was setting her current project and asked me “technical” questions, I went back to my favorite source for information – Bonnie’s Tips and Techniques Tab . I scrolled down through her numerous tips until I got to this great chart and tutorial –http://quiltville.blogspot.com/2005/06/on-point-quilts.html– She has such great info. You can follow along with her discussion and get to the hard “math” stuff, and then go to the chart.
To back track a little, the quilt I am currently working on (Allietare Mystery Quilt) has set in triangles/corners, and my experience in the past was to STARCH the SQUARE HEAVILY before I cut it in quarters or halves. This will really help as you can experience all kinds of stretch with those bias edges along the outer edge. STARCH is your best friend when dealing with triangles I believe.
Bonnie also tells you what to do if you “sash” a quilt on point. I used that info when I worked on the quilt for our outgoing president of the quilt guild. Sashing and on point example.

Quilt Top for Outgoing President
There is also an app for your cell phone from Robert Kaufman Fabrics/Quilters Paradise. It is a free app. They have a set-in and corner triangle calculator. Quilting Calculator App (Go to this link for more information about the FREE app for Android & I-phones). I use that app alot when I am out shopping; when I am working in my sewing room trying to figure out how many 3.5″ squares I can get from a fat quarter etc. Very useful!!
I like to “compare” the two – Kaufmann App and Bonnie Hunter’s chart. It gives me CONFIDENCE that I am doing it correctly.
My very first quilt on point was from a class I took at Serendipity Quilt Shop, and we were following the pattern information in Pat Sloan’s “I Can’t Believe I’m Quilting” book. (Oh, yes – this quilt is still a UFO….January 2013….partially quilted). That book also had great “ON POINT” information.

Pattern by Pat Sloan – Get to the point
Another quilter I follow, you may be familiar with Aunt Marti – 52 quilts (remember Susies Magic Binding ?) recently had a timely post on setting triangles and on point calculations –http://www.52quilts.com/2015/12/tuesday-tutorial-setting-triangles.html . In her blog post she said ” I love Marti Mitchell’s templates and rulers. The Diagonal Set Triangle ruler #8968 can be used for both corner triangles and setting triangles.” Do go read her post and why she loves that ruler. (Hint – NO BIAS).
Of course, just about every QUILTING 101 book has setting triangle information. I have to be able to follow the directions, so pick the one that you can most easily understand, and stick with it. As I said, I am NOT an expert...but I sure to like the way an on-point looks. Oh; one last hint. Recently I read that you will be MUCH happier if you run some “stay stitching” around the outside (seam allowance) edge of your quilt with setting triangles before you start pinning on borders. If you had a serger that would work well, otherside just a zig zag or even a straight stitch would help . 🙂
So, there you are, my wealth of information collection is yours for the keeping.


Thank you, Mary, for your help with this project as well as your sound advice on other questions in the past. I don’t think I’d be quilting without your advice and help along the way. So, I send you a big thank you for this post and the information it contains. 🙂
LikeLiked by 1 person
So Kind Judy! I’ve been happy to share information with you!! 🙂
LikeLike
Pingback: UFO Complete — Get to the Point! | Stitching Grandma