
November and December were busy months with my Brother PE500 Embroidery machine. I had a great time working with the “in the hoop” ornaments, and decided to try some Free Standing Lace.
I have a “larger hoop” that I was given to try. It is re-positionable on my machine. Using it, I can hoop a larger piece of stabilizer and then “shift” the hoop, and get multiple 4×4 designs stitched out, without re-hooping. It is from Embroidex and was purchased on Amazon.
It is perfect for saving on stabilizer when working with Free Standing Lace (FSL). At our Embroidery Club, one of the ladies also showed how she cut a “larger” piece of stabilizer than needed, and “re-hooped” it to maximize the number of designs she was able to stitch out. 4 of my friends had made hundreds of FSL ornaments for a Christmas Tree for a Hospice Charity fundraiser, so I took their advice.

Multiple hoopings of stabilizer in the expanded hoop
The photo above shows how the “re-hooping” worked out. I certainly saved stabilizer. This hooping has VILENE (water soluble) on the bottom, and water soluble clear on top.
Many of my free standing lace designs are 10,000 stitches or more for a 4×4 piece. I was working on a bell, and snapped a picture of the screen.
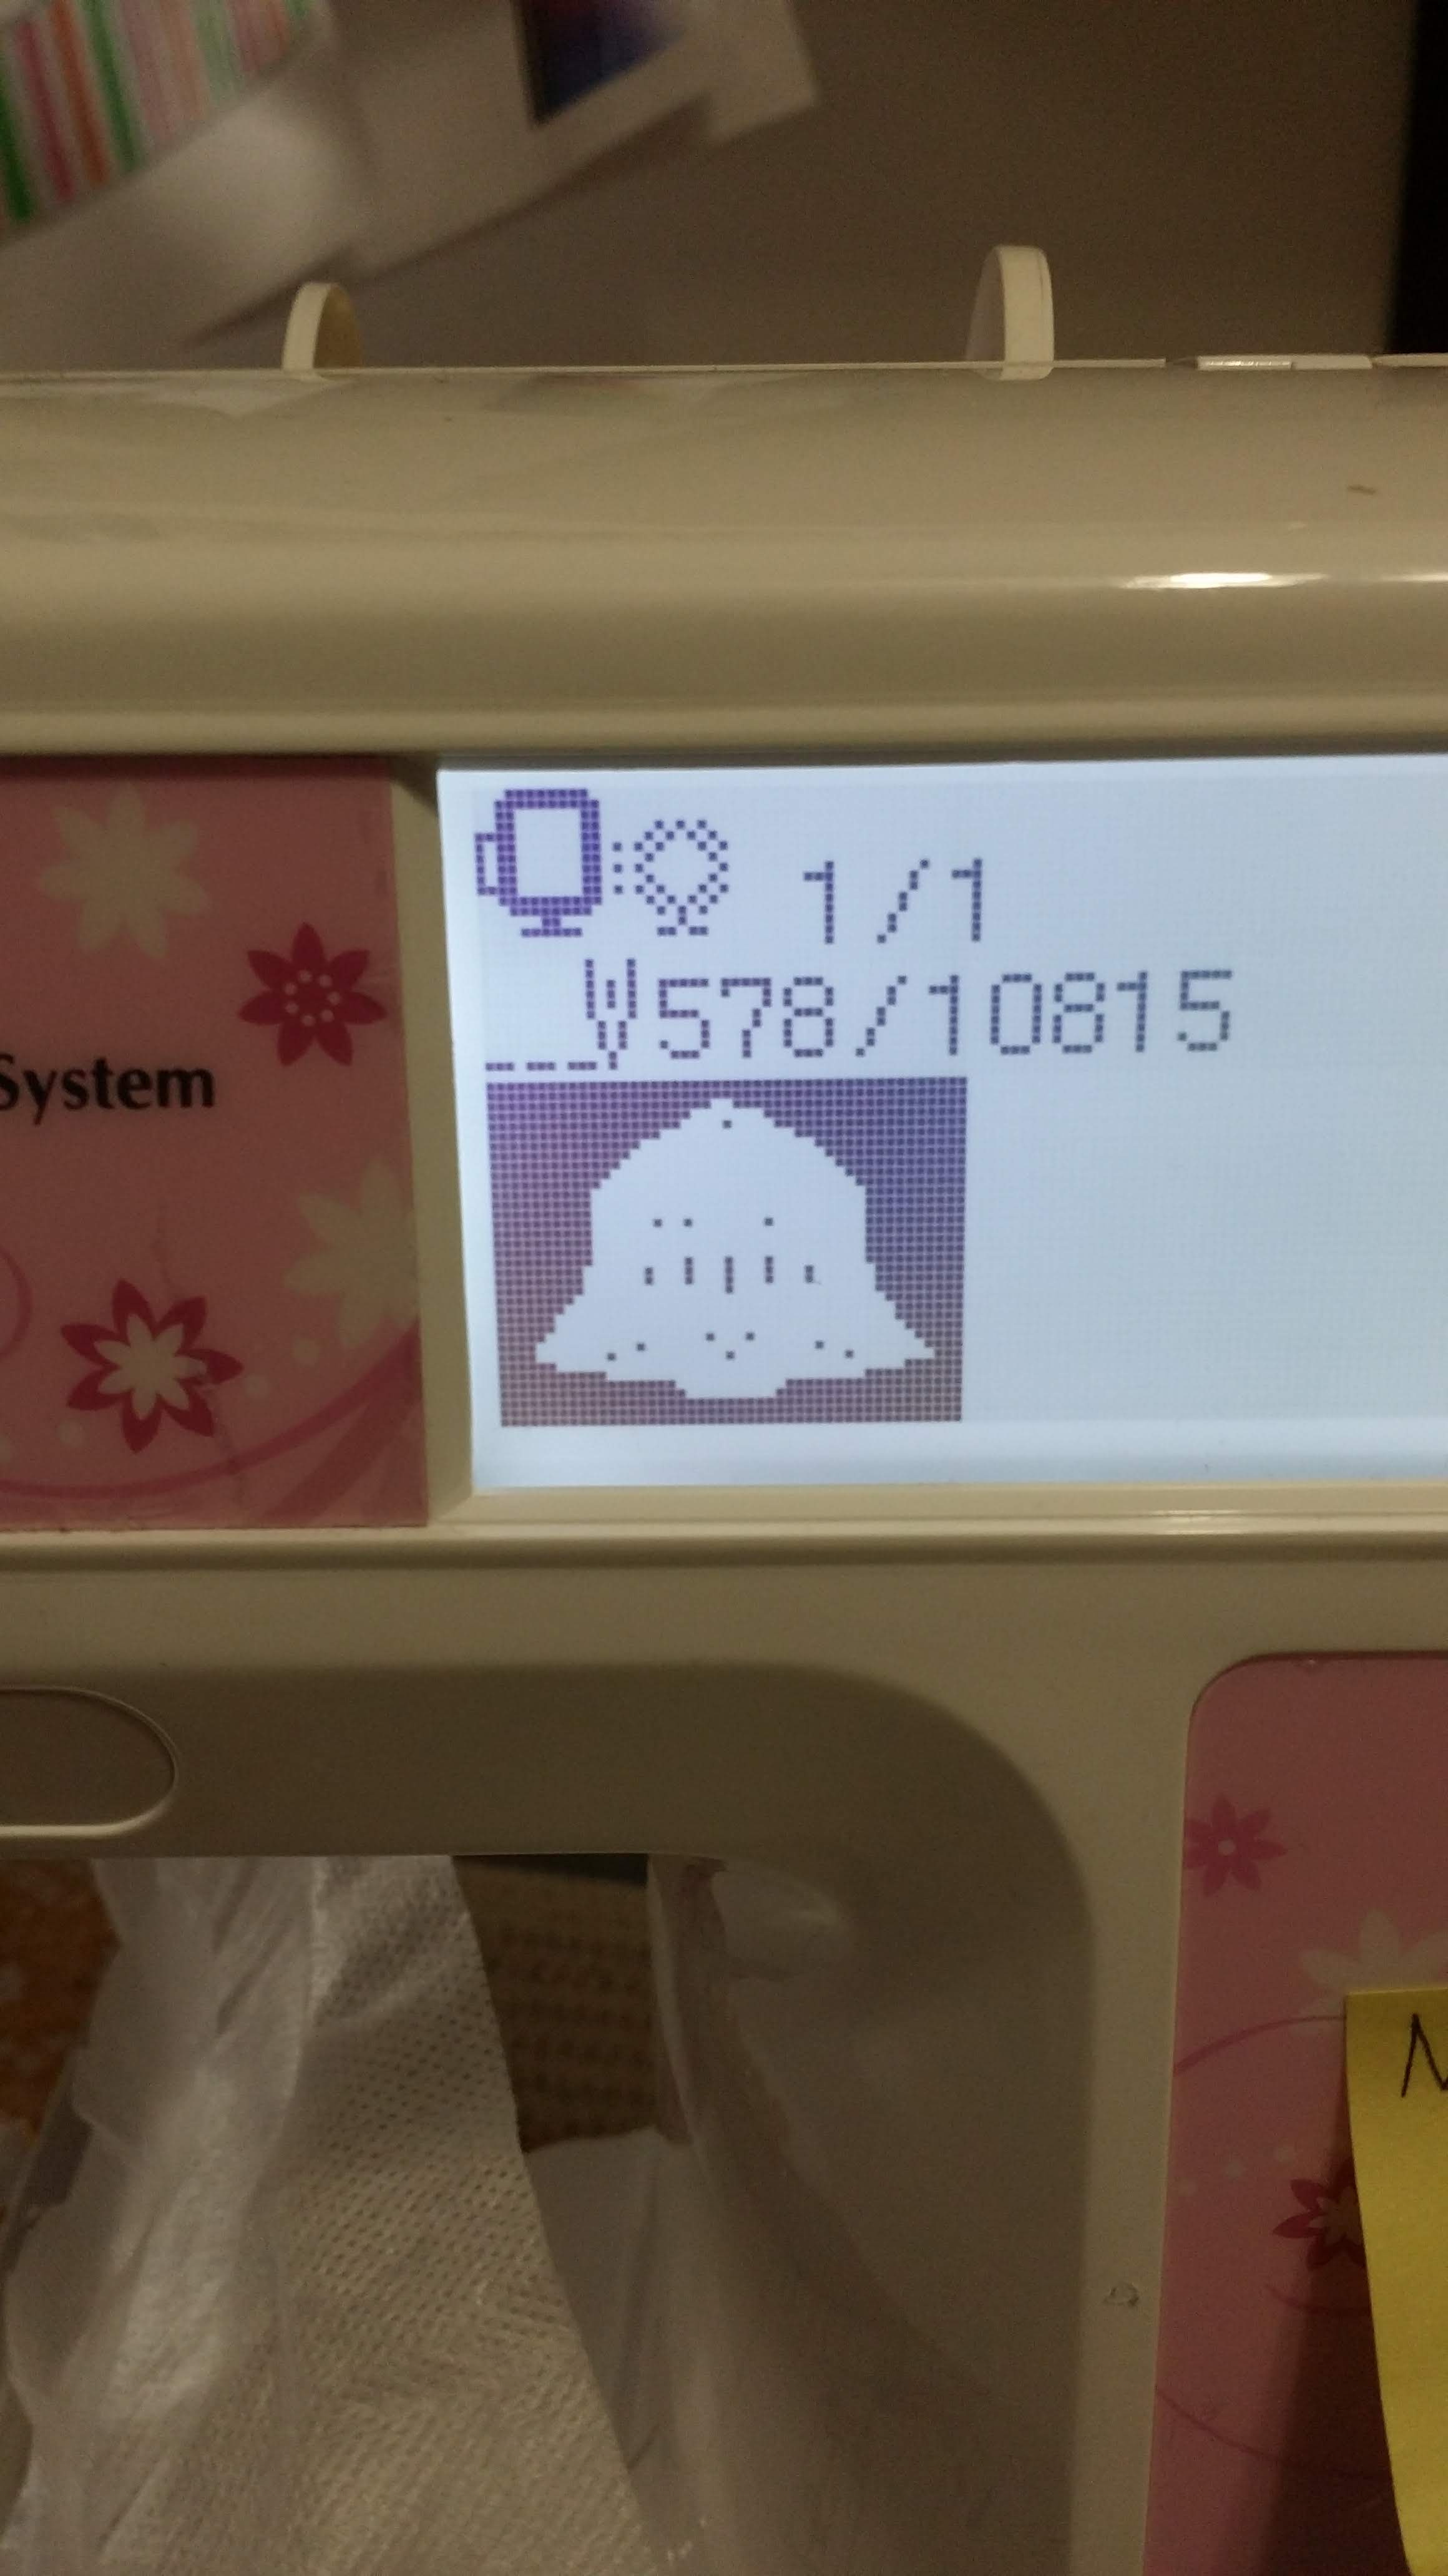
Lots of stitches for 1 ornament

8 ornaments done
I was really pleased with these ornaments and I loved doing them in gold thread. It is hard to tell the back from the front with most of these. They were “drying” after removing the water soluble stabilizer.
I thought I would switch threads for a bit and changed to a metallic. What a disaster. Thread breaks and jams! My own fault for doing it without a thread stand and a metallic embroidery needle. My machine has never jammed to this degree. I was convinced it was ruined. I honestly thought I had broken something “inside”, and the nearest repair shop is almost 100 miles away, and it costs $150 just to walk in the door. I wasn’t willing to spend that for a machine that I won, that is worth less than $500 and have used for 5 years. So, my dear husband said he would “try to fix it”. (He is an electronics and mechanical genius, so I had nothing to lose).

Investigating the inner workings
It took him about 3 minutes to figure out where all the screws come out and all the “plastic snap clips” were to get the entire outer cover off of the machine. Then, of course, he had to study the inner workings. At this point, I was having a little anxiety about the whole “disassembly”.

Looking for the Jam
The wheel on the side of the machine was totally jammed, so he started looking for that jam and what needed to get “unstuck”. While he was deep into the machine, he had NO idea I snapped a few photos. He said the machine was “surprisingly clean” for one that has never been serviced. I think that is the nature of embroidery only machines…not collecting lint from the feed dogs, because they don’t have any.

Digging out the jammed thread
Lots of pulling and tugging on bits of thread to get the jam out. Shocking amount of thread stuck inside the machine.

Working on the problem
What a gift my dear husband is. He is a man of many talents and is fearless about taking things apart. Of course, I watched and handed screwdrivers and tweezers (even my really good ones) to him while he worked on my machine. And I know how he works…screws everywhere, so I gave him a screw storage facility!
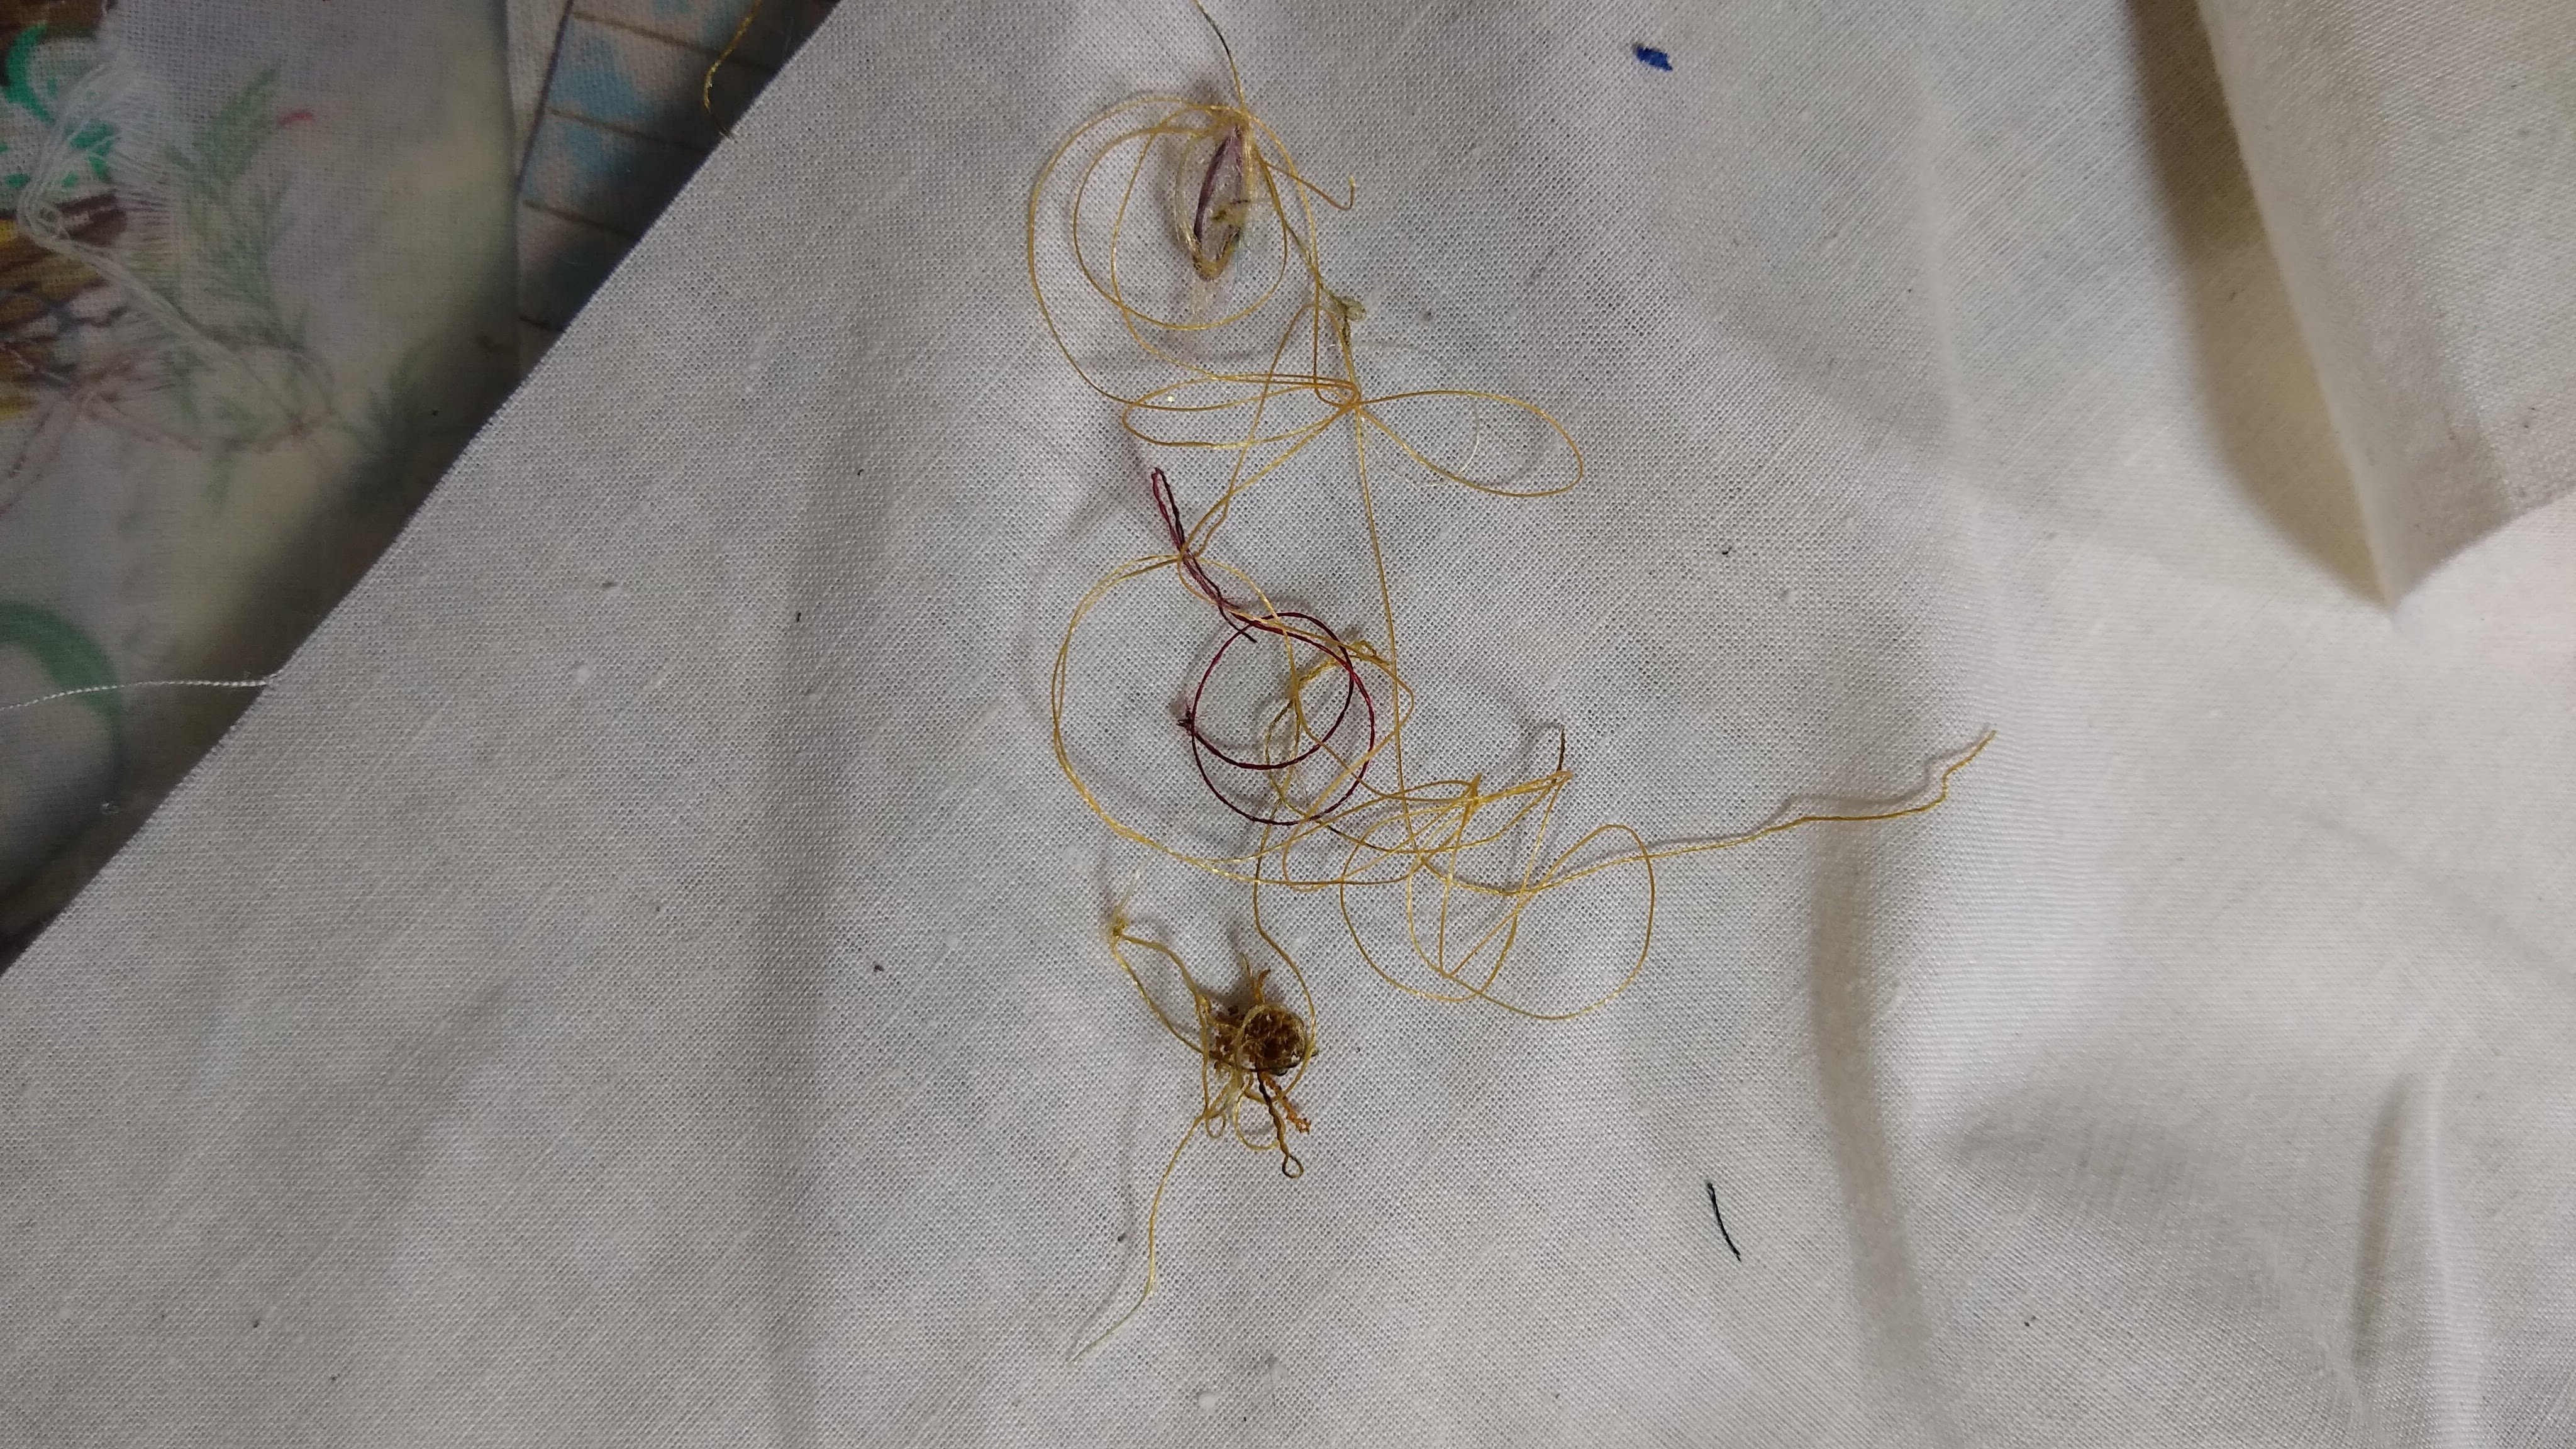
The tangled web
All that thread was caught up in the take up lever area, stuck around a place it should not be. Now, some of it may have been there a while (the red thread), but that big blob of gold …that was all the metallic thread. I was certain I had “stripped” those stupid plastic gears inside of the machine, but once it was all back together again, we did some testing and once “I” got the needle in properly (not the first try…..blood pressure boiling…..) it stitched out a test letter!! SUCCESS!!! (He teases me because he thinks I don’t trust his mechanical skills!!)
Imagine, he did this for me on Christmas Eve, while the rest of the family was out at a party and I was working to finish up 3 gifts. It really was a gift to me that he was able to fix it. I have mentioned many times that I have “hoop envy” and want a “bigger machine” but honestly, I wasn’t quite ready to BUY one. So; I am very please it is back together.
Once all the family gatherings were over, and the holiday excitement wound down, I gave the machine a “real test”. I stitched a couple of towels for a gift and the machine worked as anticipated!

First run after the repair
The cute designs are from Oh My Crafty Supplies – Farm hen design on white towel and Farm Rooster design on the black towel . I added the chicken wire fabric at the bottom of the towel and for a loop. I use “vilene” in the hoop, float the towel and pin it on top of the vilene and run a basting stitch to secure in place. I use a water soluble topper (clear) on top. I stitched the farm rooster TWICE because I think with the black towel, it needed more thread laid down. I love the way they turned out. I’ve been saving the chicken wire fabric for months to use with these designs and towels. (My friends voted NO ruffle, so I made a band of fabric). Getting ready to “gift them” this week.
So; all in all a great time with the Brother PE500 embroidery machine. Frustrations and learning curve are part of the process. My level of trust in the hubby’s mechanical skills went up again! My friends that were over last week were calling him a superhero for fixing that machine!! HE IS !!!


Those ornaments are fantastic. The roosters too. Loved your story – it had so much suspense and then a happy ending. Now you know you have a reliable repair man at home 🙂
LikeLiked by 1 person
Thanks! I enjoy writing the blog. Going to keep this repairman! 🙂
LikeLike
I’d borrow your repairman on occasion if I could! 🙂
LikeLike
Hi Laura – he is pretty handy. He adjusted timing on one of the old singers, and has been known to rewire plugs and pedals for my friends. My sister in law said I should keep him, but I told her I would loan him out for friends who need repairs, and he could earn train money! 🙂 Did you happen to notice he was working on one of my cutting tables/mats. When he got started, he didn’t even let me cover the table with a towel or anything….groan….luckily, no grease. 🙂 He would fix things at the counter in the kitchen that would make me shake my head! 🙂
LikeLiked by 1 person
When I embroider on towels of any kind I use a little tule or netting on top of the towel before embroidery. It ears off very easily.
LikeLike
Interesting! That is the 2nd time I have heard of people using tulle. I’ve got a bit sitting around from making princess skirts for the grands. Do you use a matching color? Are you using it to keep the stitches “on top” of the toweling? I keep a box of dish towels in the sewing room for when I need a quick hostess gift etc, so now I am curious and going to try a test!
LikeLike
I keep a white and off white handy. You can pick off what you don’t want.
LikeLiked by 1 person
Nice to have a great repairman/technical department on-site. Works cheap too. He’s definitely a keeper.
LikeLike
He is pretty handy, but I have to be very patient when I want something fixed. Has to be on his “schedule”. Thank goodness I am~!~ hahhaha. I think I’ll keep him, but might rent him out and have him earn some train money.
LikeLike
What a guy, isn’t it great to have a handy hubby! Glad your machine is purring again.
LikeLiked by 1 person
Your husband is indeed a gem!
LikeLiked by 1 person
He is. I get frustrated with mechanical things but he is great trouble shooter and handy to have!!
LikeLiked by 1 person
He’s got skills! I was at a sewing seminar thingy this week and they were demonstrating embroidery, serger, and sewing machines. There was a serger for a mere $4,000. I was afraid to ask about the embroidery machine because it was stitching a boat in a hoop that must have been 9×13 at least.
LikeLiked by 1 person
Love your FSL ornaments! Your hubby is definitely talented…what a blessing!
LikeLiked by 1 person
🙂 Thanks. He loves tinkering, and he is good at it!
LikeLiked by 1 person