I just could not wait for February to disappear. It always feels like the longest month at the end of Winter. It’s still cold here in Southern Delaware, but at least the sun is shining. Next week things are warming up and we will be out of the “below freezing” at night! Hoping for just one last winter delivery of home heating oil in the week ahead.
Now that the weather is better, I have been venturing out more often to my sewing room. I did a project in February for a birthday gift, but couldn’t really post about it until the package was delivered. Sent it out via USPS priority mail on Feb 19 and it FINALLY got delivered on March 3. So much for 2 business day service! At the time I delivered it to my local postal clerk, I was told it will be there on Tuesday….My package got “lost in transit” between Philadelphia PA and Santa Barbara CA between Feb 24 and March 3. I finally entered a “lost package query” on the USPS website, complete with photos. I did that on March 2nd, when the package was a full one week overdue. Magically, it arrived and delivered to the residence on March 3. So; I can quit wondering what happened and be happy it arrived. The recipient and I chatted about bandits holding up the stagecoach and wishing the pony express was carrying this precious package!
Here are the contents of the very travel weary parcel-


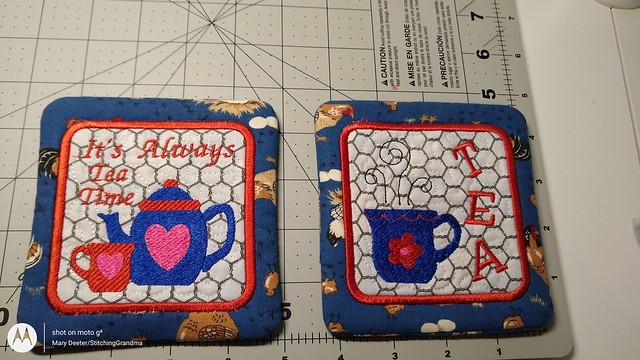
Each of these projects was a lot of fun to make and my recipient is a “known” tea only drinker, and I thought she would enjoy them for her birthday. All of the designs were done in the 5×7 hoop.
I’m sure if they never showed up I could “redo” them, but I would have to dive into the fabric bin and find something else almost as cute as these fabrics. Most of the applique bits came from my never ending bin of scraps that I save specifically for embroidery machine applique. I had just a small piece of the “chicken wire and chicken fabric” and could not repeat that if I had to. I am SO glad the package finally showed up.
The tea towels were “Aunt Martha’s Retro towels” that I purchased last year from Oh My Crafty Supplies . They are available in other places, and are currently out of stock at this vendor. These are my favorite dish towel to embroider on. I have found them at WalMart in the craft section in the store & on line, and on Amazon. They start out at 18×28, and I ALWAYS prewash in hot water for maximum shrinkage. Boy do they shrink, but they are a nice “usable” towel for drying glassware and china. They are durable and will last for many years, unlike a lot of the “flour sack” towels others like to use. I like the size and the loop in the corner, and even though they look so cute with the embroidery, they are usable and functional. The more you wash them the softer they get.
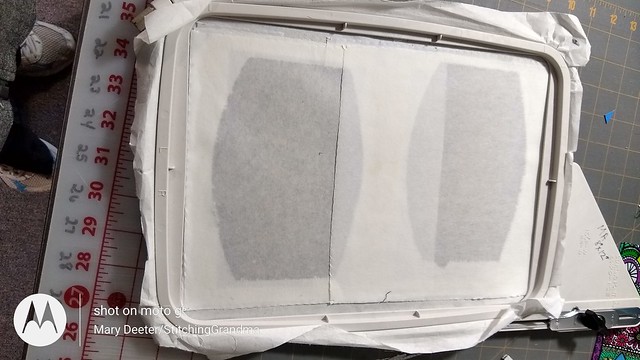
While I was having fun with machine embroidery, I got busy with the verses that go on my church quilts for the high school graduates. I send all the parents to Designs by JuJu website and have them select verses for their graduating student. So far, these are the ones I have stitched out. Special thanks to Designs by JuJu for digitizing so many Bible verses and offering them for free. I am always pleased with the quality of the stitch out and Designs by JuJu’s gift helps me with this ministry at my church. This year, there will be “more than one” verse on each students quilt.


These verses will go in the corners of the quilts we are making along with a photo of the church, which I print out every year on fabric. I am working on assembling one of the quilts, while there is a group working on another.
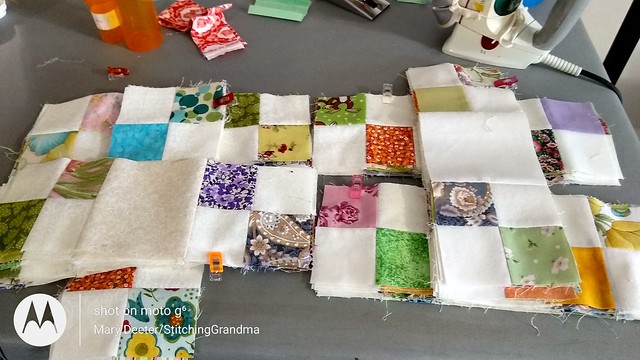
I have all the blocks made, the quilt top laid out on the design wall to my satisfaction and have started putting it together. I was so blessed to participate in two day long ZOOM quilting days last week and got a lot of stitching done. I have half of the quilt “webbed” together and just need to stitch the 10 rows together, then join it with the right side which is all ready assembled.

I used the Jodi Barrows Square in a Square ruler, option 2 for the alternate blocks. I like the way the corners make star points if you squint one eye. All the fabric for this particular quilt was donated by one of the church members when she cleared out her sewing room.

The student likes blue, and I am planning on a blue border, using the same fabric as the wide backing.
The quilt for the other student is very striking as well. His grandmother purchased all the fabric, including the wide backing and is participating in the construction. One volunteer stitched all the half square triangle blocks, and we got together to starch, press, cut, starch, open and press and trim last Saturday. The previous Saturday we worked on cutting out the strips and squares needed for the project.
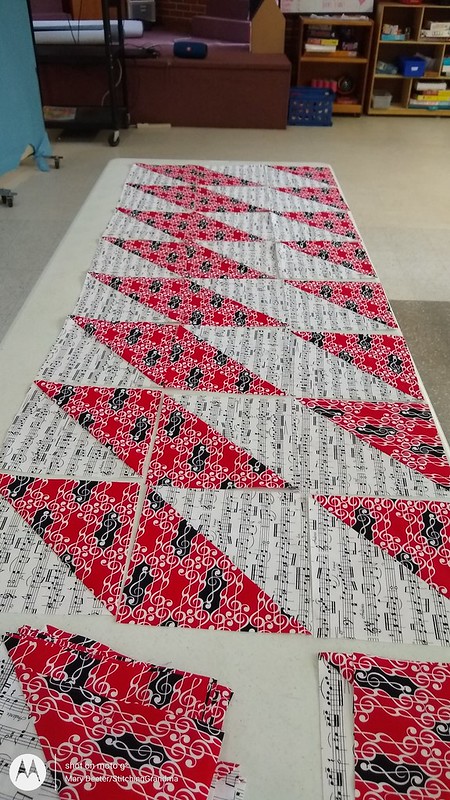
This two color quilt will also be quite striking and we are planning on using the same red as the backing for the borders. Both quilts are using 8.5″ squares. With half square triangle blocks you have endless ways to layout the quilt and one of the volunteeres liked this particular pattern. It made her think of the marching band going across the football field in formation. Perfect for this musician.
I’ve ordered wide backing for both quilts and it will be nice to work with. We won’t be quite ready for another week or two so I’m hoping the USPS does a better job with the shipment of that fabric. These two color quilts are very fun to work with and are so different from what we did for the last 12 years. When there are only a couple of grads, it gives us more time to be creative. Normally we alternate a print block and a plain block and allow for space for the congregation to sign the quilt. But, this year, like last year; that isn’t possible, so we really wanted them to stand out. I will make a nice label for the back of the quilt on my embroidery machine as well to let the student know that the quilt was made especially for them.
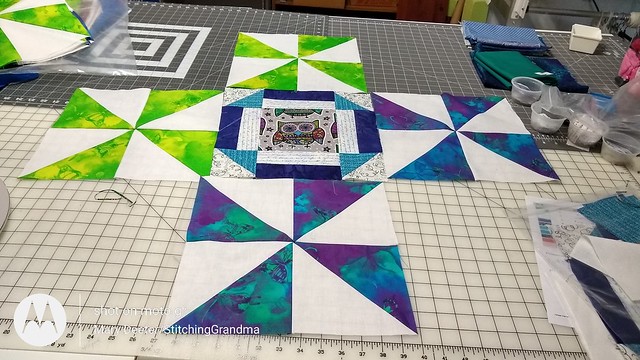
I did one little embroidery project for my quilt guild. In December we all received a piece of fabric in the mail, and the project was launched. It was called “Ask” to Reconnect Us Project”. Each member was provided an 8″ square piece of fabric with which to create a finished block that reflects you as a quilt maker. I left my square pinned to my design wall for almost 2 months, and then, at the eleventh hour, I got busy and came up with a plan. I found one of my favorite embroidery designs, called Sewing Friends available at Kreative Kiwi. It is a free set and has several adorable Sewing designs. I used scrap fabric for the embroidery and the provided turquoise for the strips around the center square. I don’t really have a name for this block because it didn’t come out exactly like I had planned, and I had to adapt and regroup. I do like how it finished and I think it reflects my enjoyment of machine embroidery along with quilting. That pink came right out of the scraps that were used in the quilt I made in January for Stella. (More about that project on https://stitchinggrandma.wordpress.com/2021/01/31/a-finished-small-project/ )

That should catch you up on my cold February sewing and embroidery work. I did work on my clue for Scrap Dance Pachanga, but the units need to be pressed, so I will save them for the next post.
What is happening in your sewing room?